One of the most common side effects of Mosaic obsession is the desire to create new pieces like DIY mosaic coasters. Do you keep looking at our mosaic art supplies? Are you getting inspired to try out new designs?
Don’t worry. Hopefully, you were able to try out some DIY mosaic art projects after reading our recent blog on holiday activities, and you’re ready for a new one. Let’s get you started on some new DIY mosaic coasters!
Mosaic Art is Entertaining!

Mosaic coasters are like small pieces of art that light up your gatherings. What’s more appealing: A plain slab of cork, or a mosaic design that brings a little more joy to your festivities?
Mosaic tile, and glass mosaic tile, are made for entertaining. They’re tough, they resist water, and they’re attractive. Combine that with a little creativity, and you’re all set for a fun DIY project.
How to Make Mosaic Coasters?
The process is simple. First, you need to select the design. Sometimes, you need to outline the design on the coaster base before adding the tiles. Then, cut the tiles into their respective shapes and glue them to the base of the coaster. Finally, once the glue is dry, all you need to do is grout the coaster then adding a marble sealer.
Let’s discover the process in more details.
1. How to Select a Design
Before you begin, let’s look at some ideas for your coasters. We’ve included examples that use different types of tiles and that are suitable for beginners.
How about serving drinks on these mosaic medallion shapes? If you’ve ever appreciated glass mosaic wall art, you know how it’s beautiful in the light. These would be great in sunshine or illuminated by candles.

1.1. Relaxed Designs
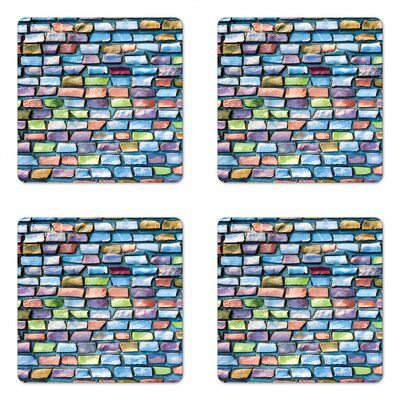
This style of coaster uses black grout and fairly large tile pieces to create their bright heart in a blue field. This is a great project for small hands – the tiles are easy to pick up and place.

Here’s another set of coasters that combines terrific colors, simple shapes to work with, and a relaxed approach to tile placement. No stress – just a set of pretty coasters. Wouldn’t these go well with some multicolored patterned dishes?

This is a style that’s great for leftovers from a previous mosaic art project. The individual pieces are all roughly rectangular and have been set up in horizontal lines.
1.2. Geometry 101
Adding a bit of structure to the design is another way to add little bits of art to your entertainment. These coasters can look like modern art, quilting blocks, or even remind you of Frank Lloyd Wright houses.
Mid-Century Modern for your mugs? This pattern has all the colors of the time period, and would love to be paired with your Fiestaware collection at your next dinner party!

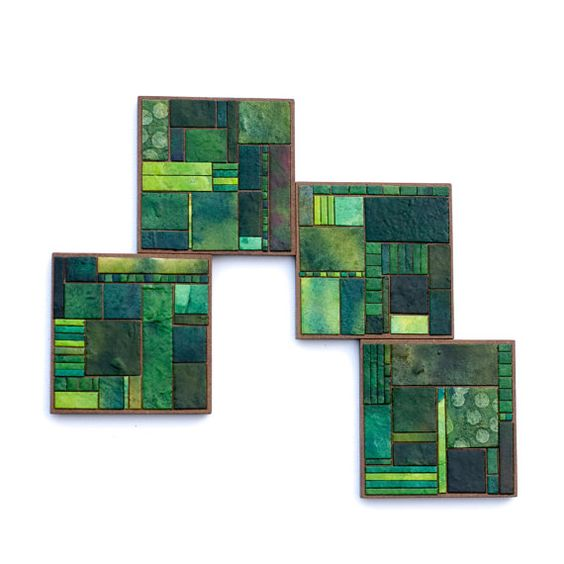
We can’t decide if the greens in this set of mosaic tile coasters remind us more of the Emerald City in the Wizard of Oz – or a Frank Lloyd Wright kitchen backsplash. Either way, they’re deeply satisfying.
Need a little glitz at your next soiree? The use of gold glass mosaic tiles in this well-organized pattern gives them quite a sophisticated air.

Charming as a handmade quilt, and cheerful as summery blue sky, this is a fun introduction to the art of tile placement. The space between the pieces provides a little more room to work with.

1.3. Just a Bit of Planning Required
Some DIY mosaic coasters will need a small amount of preliminary planning, and probably a rough design worked out on paper. Even so, the following ideas shouldn’t require much trimming of tile pieces – just a desire to have fun.
Radiating color bands and a small budding branch is a totally attainable goal for coaster art.

Working with leftover wood scraps can make your design evolve organically. Broken tiles and square border pieces end up being a great set of coasters!

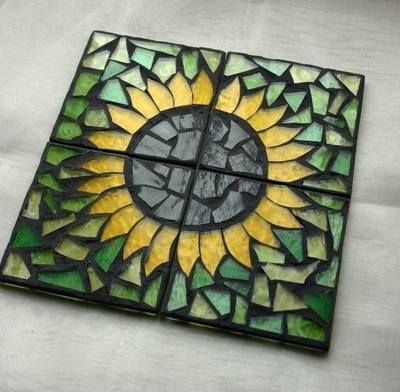
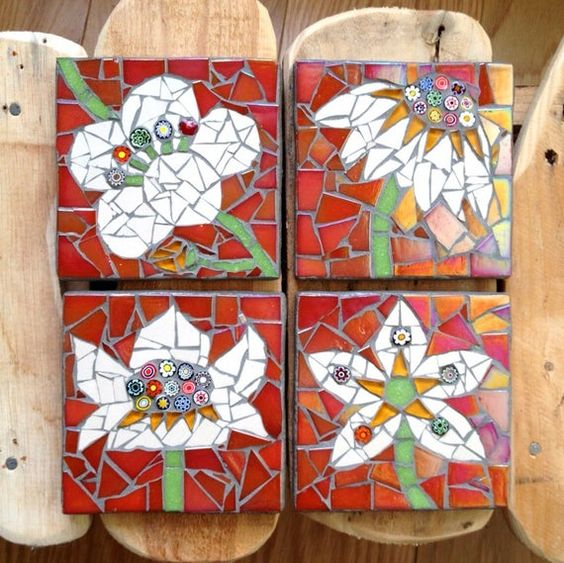
These designs work with 4 coasters that are lovely on their own – and a surprise piece of larger mosaic art when placed together!
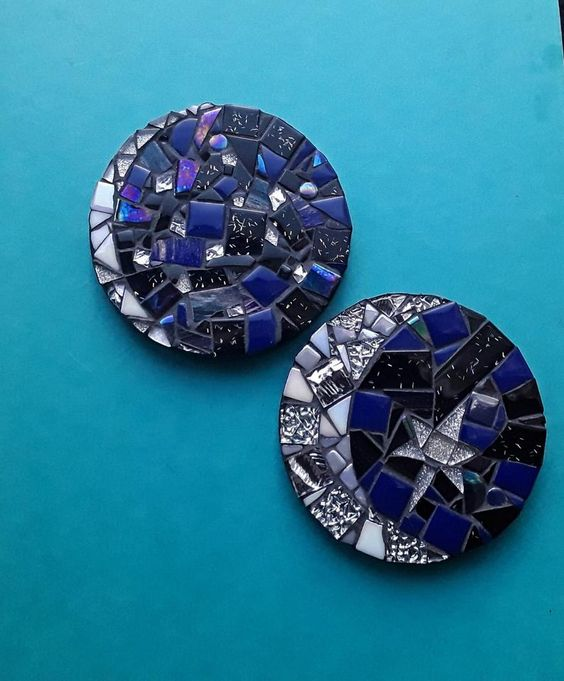
Last, these round celestial-inspired coasters use glass and regular mosaic tile scraps for a heavenly result. These will be glorious additions to your home, even when not in use.
Getting to Work on Your Mosaic Coasters

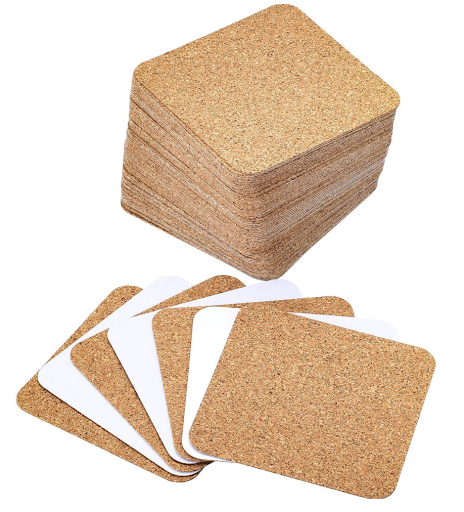
Other than your mosaic tile pieces, you’ll want to have a selection of coaster bases on hand for your project. You can find blank ones online. Wood and cork-backed MDF boards are easy to work with. You’ll find both round and square shapes available for your use.
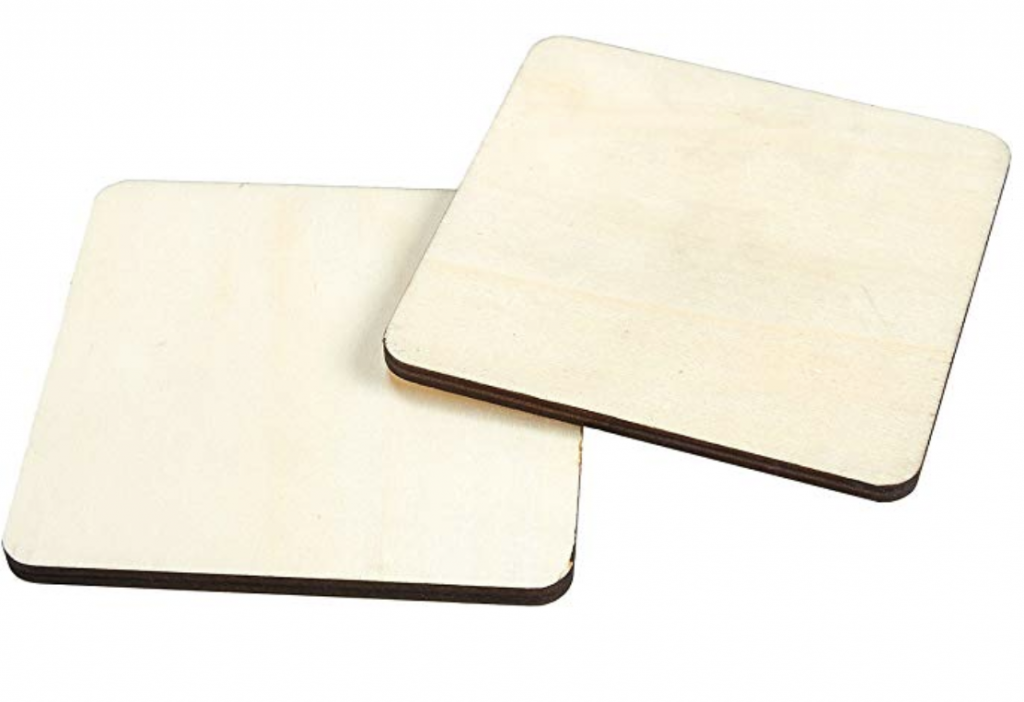
Before using any wood, make sure it is sealed and dry. Mosaic tile is great around water spills and condensation – wood, not so much. Another option is to paint the wood in a complementary color, as done on this coaster.
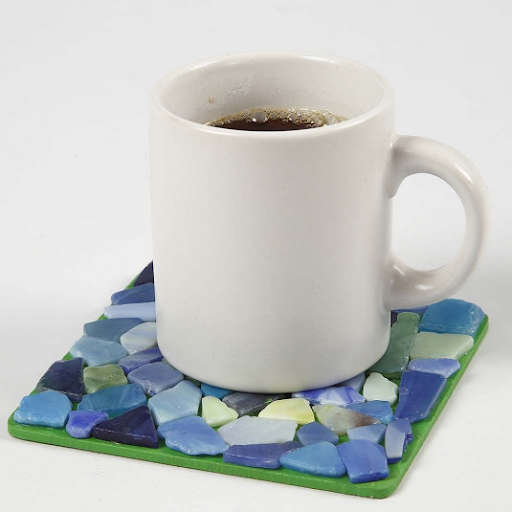
Do a test run without any adhesive to begin simple designs. For more elaborate art, you might want to trace the pattern out first on paper.
Using an appropriate adhesive, apply the tiles to your coaster. Make sure that the glue is totally dry before the next (optional) step. If you don’t want to use grout, you may begin enjoying your new coasters as soon as the adhesive has set!
If you do use grout, consider using a color other than white. Colored grouts can help make your coasters look very finished, and highlight the tiles better.
After applying grout as directed on the packaging, be sure that it is as smooth and level as possible in relation to the surrounding tiles. You’ll want a stable surface for any beverages!
Are you tempted by our latest DIY project? Which design would look the best in your home?


1 commentaire
Thanks for sharing these. They are lovely and give me inspiration.